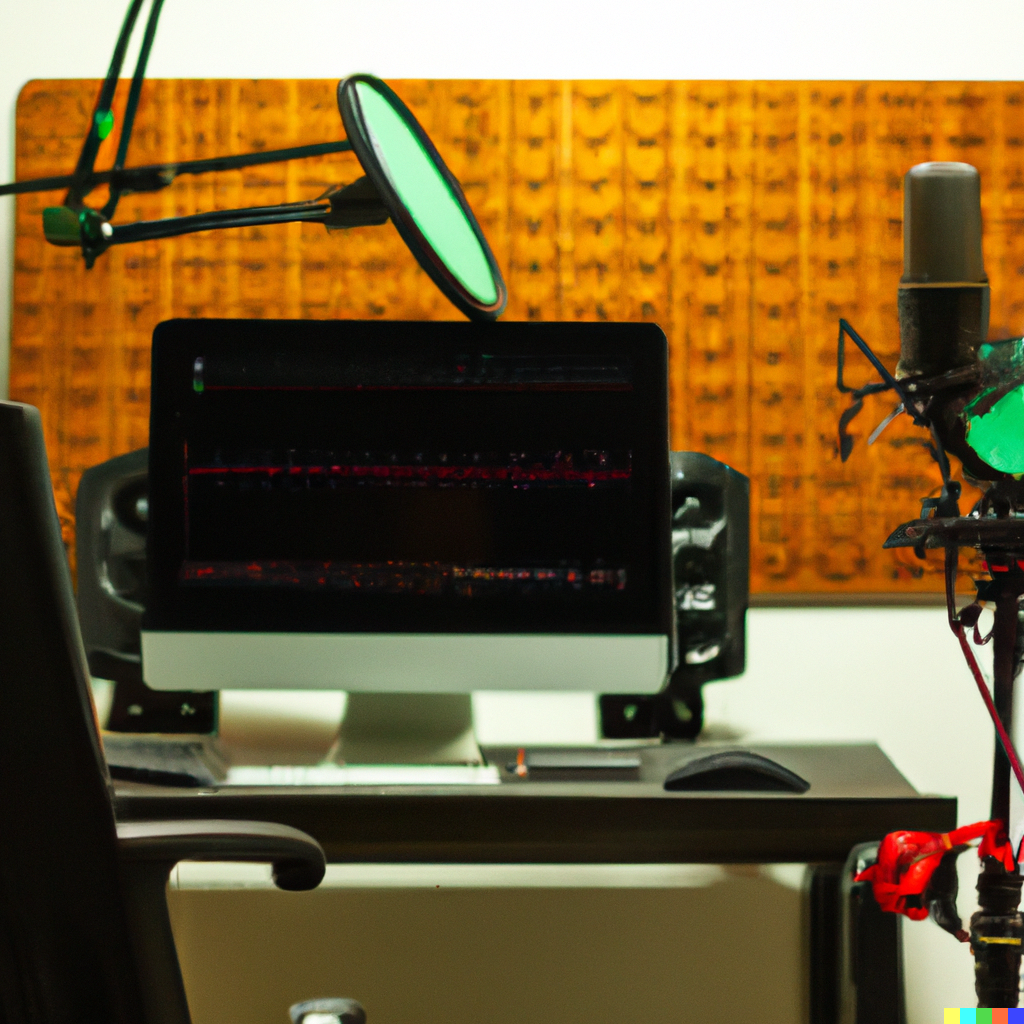
Setting up a home recording studio can be an exciting and rewarding experience.
Whether you’re a musician, podcaster, or aspiring recording engineer, having a dedicated space to record and produce your own content can be a game-changer. In this article, we’ll explore some important factors to consider when setting up your own home recording studio.
Room Selection
The first step in setting up a home recording studio is selecting the right room. Here are some things to consider when selecting a room for your studio:
1. Size
Choose a room that’s large enough to accommodate your gear and any musicians or guests you plan to have in the room.
2. Acoustics
The acoustics of the room will have a significant impact on the sound of your recordings. Look for a room with minimal reverb and consider adding acoustic treatment to improve the sound quality.
3. Location
Choose a location that’s free from outside noise and distractions. A basement or spare room can be ideal for a home recording studio.
Gear Selection
Once you’ve selected a room for your studio, it’s time to start selecting the right gear. Here are some things to consider when selecting gear for your home recording studio:
1. Computer
As we discussed in the previous article, a powerful and reliable computer is essential for recording and editing audio.
2. Audio Interface
An audio interface is the piece of equipment that connects your computer to your microphones and other audio gear.
3. Microphones
Choosing the right microphone is essential for capturing high-quality sound.
4. Headphones and Studio Monitors
High-quality headphones and studio monitors are essential for accurate monitoring of your recordings.
5. Cables and Accessories
Make sure to purchase high-quality cables and accessories to ensure the best possible sound quality.
Acoustic Treatment
Acoustic treatment is essential for improving the sound quality of your recordings. Here are some things to consider when adding acoustic treatment to your home recording studio:
1. Absorption
Acoustic foam panels and bass traps can be used to absorb unwanted frequencies and improve the clarity of your recordings.
2. Diffusion
Diffusers can be used to scatter sound waves and improve the overall sound quality of your recordings.
3. Placement
Proper placement of acoustic treatment is crucial for achieving the best possible sound quality in your home recording studio.
Conclusion
Setting up a home recording studio can be a fun and rewarding experience. By considering the factors outlined in this article, you’ll be able to select the right room and gear for your needs and budget, and improve the sound quality of your recordings with acoustic treatment. Remember to prioritize high-quality gear and acoustic treatment, as they can make all the difference in the quality of your recordings.

Leave a Reply