Can You Make a Recording Studio?
If you are a musician, a podcaster, or a content creator, you might be wondering if you can make a recording studio. The answer is yes, you can! With the right tools, equipment, and knowledge, you can build a professional-quality recording studio in your home or any other space. In this article, we will explore the steps you need to take to create a recording studio from scratch.
1. Assess Your Needs
Before you start building your recording studio, you need to assess your needs. What kind of content do you want to create? What equipment do you need? How much space do you have? By answering these questions, you can determine the scope of your project and create a plan that fits your budget and goals.
2. Choose Your Space
The next step is to choose the space where you will build your recording studio. Ideally, you want a space that is quiet, isolated from outside noise, and has good acoustics. If you have a spare room in your house, you can convert it into a recording studio. If not, you can consider building a separate structure in your backyard or renting a commercial space.
3. Soundproof Your Space
Once you have chosen your space, you need to soundproof it. Soundproofing is essential to eliminate outside noise and ensure that your recordings are of high quality. There are several ways to soundproof your space, including adding acoustic foam panels, building a vocal booth, and sealing gaps and cracks.
4. Install Electrical and HVAC Systems
Your recording studio will need electricity and HVAC systems to function properly. You need to install dedicated circuits to power your equipment and ensure that your HVAC system is properly sized to handle the heat generated by your gear.
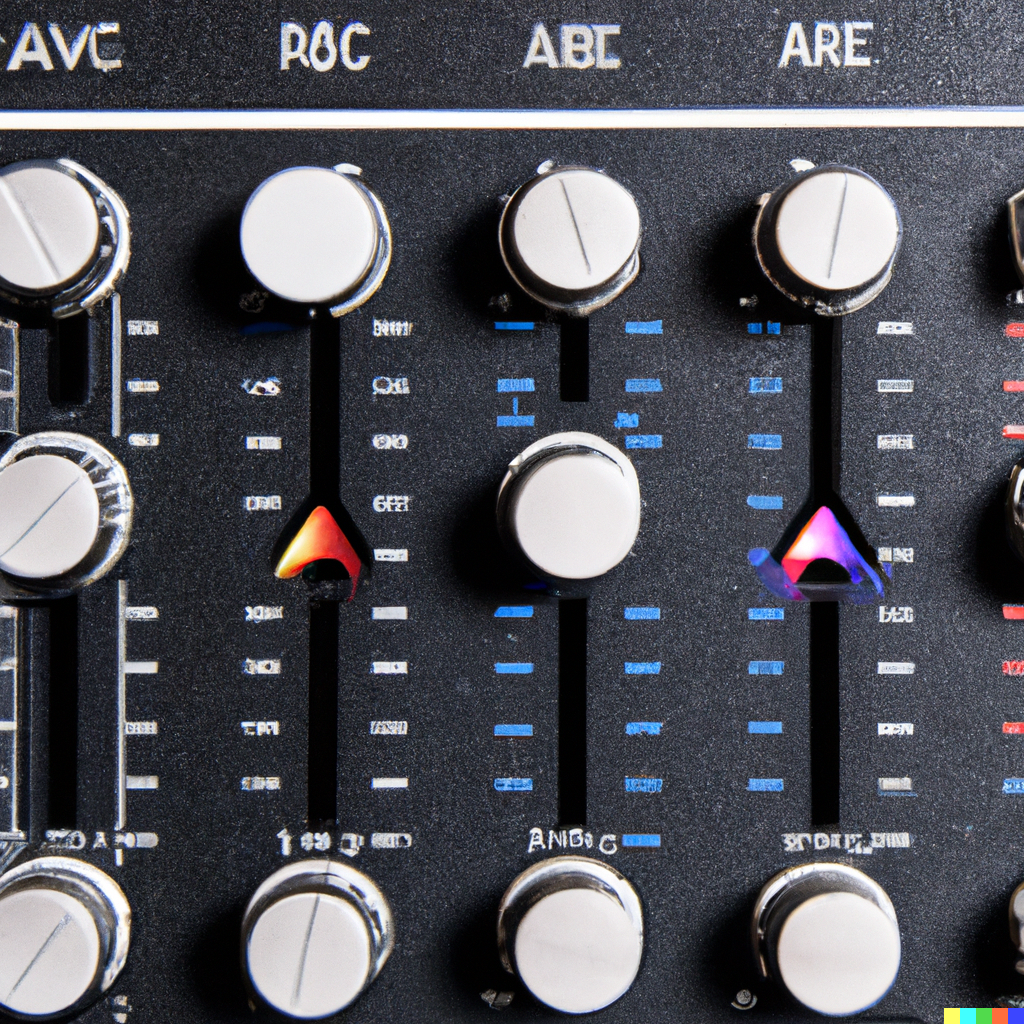
5. Invest in High-Quality Equipment
To create professional-quality recordings, you need to invest in high-quality equipment. This includes microphones, headphones, monitors, a mixing console, and a computer with digital audio workstation (DAW) software. You don’t need to buy the most expensive gear, but you should aim for equipment that is reliable and has good reviews.
6. Set Up Your Equipment
Once you have your equipment, you need to set it up properly. This includes connecting your microphones, monitors, and other gear to your mixing console and computer. You also need to configure your DAW software to work with your gear and optimize your recording settings for the best sound quality.
7. Test Your Setup
Before you start recording, you need to test your setup to ensure that everything is working properly. This includes checking your levels, monitoring your sound quality, and adjusting your settings as needed. You should also do a test recording to check for any issues and make sure that your recordings sound great.
8. Start Recording
With your recording studio set up and tested, you are ready to start recording! Whether you are a musician, a podcaster, or a content creator, you can now create high-quality content that sounds great.
Conclusion
Building a recording studio might seem like a daunting task, but it is actually quite manageable with the right knowledge and tools. By following the steps outlined in this article, you can create a professional-quality recording studio in your home or any other space. With your new studio, you can unleash your creativity and produce content that sounds amazing!
Leave a Reply